Teaching a child to tie shoelaces on his own is not so simple. Make a funny caterpillar and a ladybug from polymer clay and decorate with them the most ordinary shoelaces.
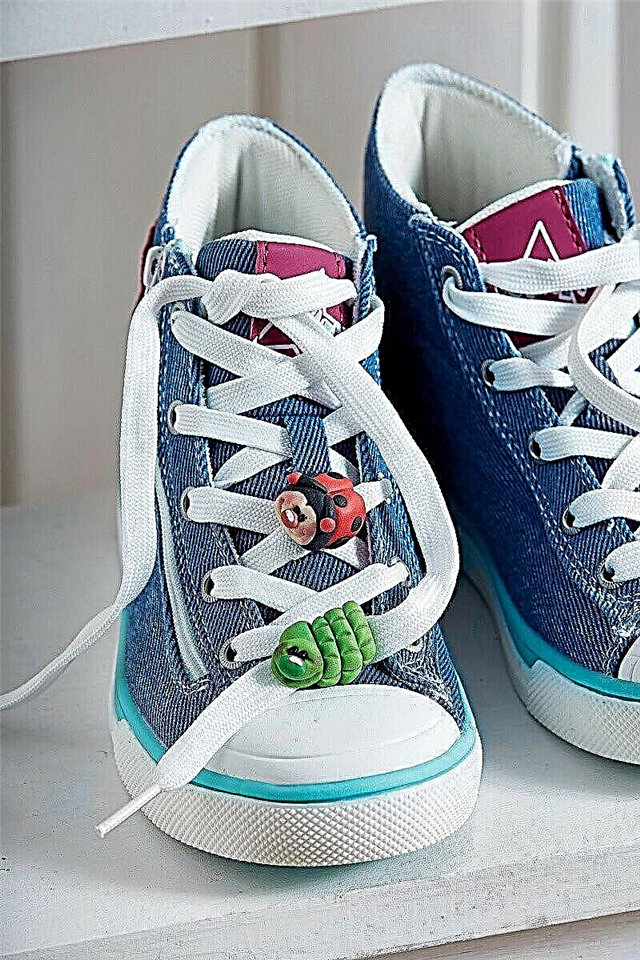
With such fun jewelry on your favorite sneakers, your kid will learn the science of tying shoelaces much faster.
You will need:
✽ polymer clay of white, flesh, red, black, bright green and light green colors
✽ hot pink gel marker
✽ matt varnish for polymer clay
✽ black beads with a diameter of 2 mm
✽ stick for modeling
✽ brush
✽ wooden spatula or ice cream stick
How to make polymer clay beads
Step 1
The width of the wooden spatula or ice cream sticks should be selected depending on the width of the laces on the sneakers. For the caterpillar, roll a polymer clay block of light green color with a long tourniquet and wind it with a spiral around a wooden spatula or ice cream stick. For the head, form a ball, squeeze it a little and stick to one end of the spiral.
Step 2
Form a small oval nose of clay of bright green color and, flattening a little, stick to the head. Press the bead eyes.On the body of the caterpillar with a stick for modeling, make transverse notches.
Step 3
For the underside of a ladybug, form a small ball of red clay, stick to a wooden spatula or ice cream stick and flatten a little. For the shell of a ladybug also form a red ball, stick it on top of the spatula so as to close the spatula.
Polymer clay bracelet
Step 4
Mark with a stick for modeling on the back of the wings. For a head from black clay, roll a small ball and stick an oval piece of flesh-colored clay to it as a “face”. The oval details give the shape of a heart.
Step 5
Roll up a small ball for the nose of a ladybug, draw a smile and press the beads as eyes.
Step 6

Gently apply a little blush on the “faces” using a gel marker. Bake the figures in the oven with a wooden spatula / stick (see instructions on the clay packaging). After cooling, remove the spatula / stick and varnish the crafts.
Source and photo: Burda. My favorite hobby 1/2018