If among the organizers for sale you do not find the one you need in shape or size, you can do it yourself.

Now there are many boxes of organizers that can be put on shelves in a cabinet, but their sizes are mostly standard. If you need an organizer of a size or shape that is not on sale, you can do it yourself. For example, I needed a narrow, tall and rather long organizer. By the same principle, you can make covers for finished boxes, thus turning them into beautiful organizers in the same style. Another plus is that these covers can be removed and washed.


How to sew a textile box made of fabric: master class + template
You will need:

- cardboard, breadboard knife, metal ruler, pencil and masking tape for the base box of the organizer;
- two types of fabric: for external and internal cover;
- pencil or marker for fabric;
- ruler;
- tailor pins;
- scissors for fabric;
- sewing machine and thread.
How to make a box: 4 workshops + video
Step 1

Determine the desired size of the organizer, draw and cut with a knife from cardboard 5 parts: the bottom, 2 identical long walls and 2 identical short walls.

Assemble the box and glue with masking tape. It is better to reinforce the corners with adhesive tape and paste them over the edges from above.
Step 2
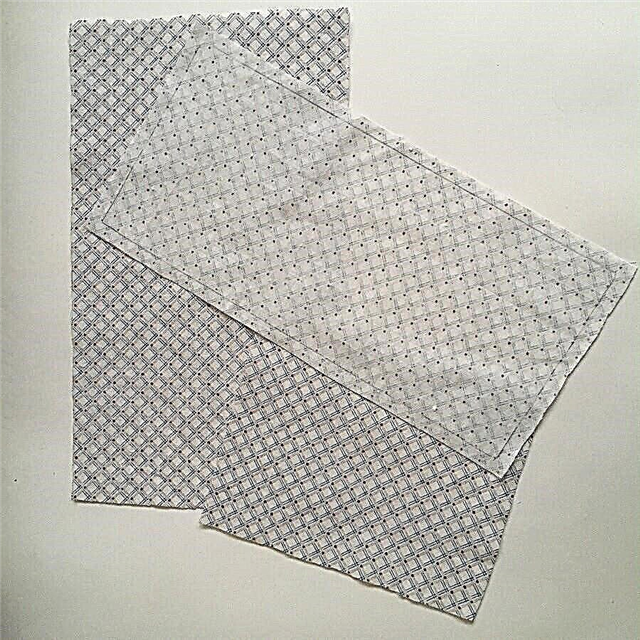

Cut out the details from the fabric.
Details and their quantity are the same as cut out of cardboard for the organizer base: 1 bottom part, 2 long sides, 2 short sides from each type of fabric. In this case, all the side parts of the inner cover must be increased in height by the width of your lapel (in our case, by 3 cm).
Allowances:
- for both bottom parts, 1 cm on all sides;
- for all side parts 1 cm from the bottom and sides and 3 cm from the top, for hem.
You can cut out the details for the sides as a single canvas, make it up in two or three parts - how much fabric is enough.

My fabric for the outer cover was very shed, so I immediately processed all the allowances for the bottom part and the side and bottom allowances for the remaining parts from this fabric in a zigzag pattern.
Step 3


All side parts of the outer cover must be sewn into a ring. Fold the parts in the desired order with the sides inward, pin them off. We sew the lines, leaving 1 cm from the bottom un sewn. At the beginning and end of the lines - tack.

Flatten the allowances.

Stitch seams on both sides.
Step 4


We pin the resulting side part to the bottom part, folding them with their faces inward. We combine the corners: the unclosed bottom sections of 1 cm will separate and help to make the corners even. If the side part is cut with a single canvas, the corners should be cut in this place.

Lay the stitch connecting the bottom part and the side part. When reaching each corner, make 2 stitches of 1 cm on each side perpendicular to each other to strengthen the corners.

Cut the corners, not reaching the line of 2 mm, iron the allowances for the bottom part and stitch the seam along the bottom part.
Step 5

Twist the upper edge of the outer cover 1.5 cm and lay the stitch, securing the gate.


To make the cover sit better on the base, we will narrow it a little on top. Fold the top edges along the seams and stitch the corners, as shown in the photo, by 1.5 cm, departing from the edge of 1 mm.

The outer cover is ready - you can put it on the base.
Step 6
The inner cover is sewn in the same sequence as the outer one.
In my case, the side part for the inner cover was cut out in two parts. I decided to place the joints of the parts in the center of the short sides.

First, I connected the two parts into a ring and on each side stitched each seam.

Chipping a side part with a bottom part, placed the seams in the center and first put pins in these places, and then chopped the rest of the parts.

On the corners of the notched side parts.

The fabric for the inner cover in my case did not crumble, and I decided not to process it additionally. Lay the stitch connecting the bottom and side part and making at the corners of the fastening. Cut corners, iron the allowances for the bottom part, stitch the seam along the bottom part. Cut allowances to a width of 0.4 cm.
Treat the upper edges of the inner cover in the same way as the edges of the outer cover.


It remains to put an internal cover into the organizer and unscrew its edges outward. Done!


Master class and photo: Natalya Pykhova
Organizer basket made of felt and fabric in half an hour
Storage ideas: organizers for every occasion and taste
Organizer for underwear
Do-it-yourself stylish hanging organizer