Share
Pin
Tweet
Send
Share
Send
I’ll tell you about my experience, or rather, an attempt to sew a dress I like from the movie “Red Pearls of Love”.
Hello everybody!
I’ll tell you about my experience, or rather, an attempt to sew a dress I like from the movie “Red Pearls of Love”. I thought in this model it would be difficult to repeat the back, but as it turned out it was more difficult to "put" the bodice of the dress on me.


In 2008, after watching the film, this dress captivated me. The heroine Maria had several colors. Then I did not know how to sew and ordered dresses from a dressmaker with decades of experience. The result was not very impressive as it seems to me now, but then I liked it.
Here are the surviving photos:


Now, after several years of constant sewing, I decided to try to sew it like that. Then in 2008, I did not know what brand this dress was :)
After reviewing the film, in the credits I saw that the costumes of Maria brand Gio Guerreri.
I found some information on the Internet. "The Italian brand Gio Guerreri is a family business. Its history began in the 70s with the fact that Gio Guerreri, a girl with a delicate taste and aristocratic education, opened her boutique in a fashionable place in Milan and quickly became famous in the fashion world."
I recreated the dress on the screen of the film:


My publication material is only for those who find it useful. For lovers of sewing, not for professionals. I did not set the task at all costs to copy. I just fell in love with this dress and wanted to sew it.
I bought Italian woolen fabric on the dress, thin and elastic 1.6 m and a lining fabric made of silky viscose stretch 1.1 m.
I will try to describe the work as simple as possible.
I drew a pattern.

The original dress sleeve and bodice are one-piece. Even the hands were difficult to raise the heroine of the film. In this example, an awl detachable sleeve was sewn. And the slot made the usual.

It turned out 5 parts.
Bodice, back, front of the skirt and back of the skirt, sleeve ¾.
Carved out the details.

She swept away, skewered the recesses on the bodice and skirt. On the bodice, I cut recesses up to 1 cm.
Joined the shoulders of the bodice and the back of the fabric. Connected the bodice and the back of the lining fabric. Started up the resulting details among themselves.
I cut off the allowance to 1 cm and the notched not reaching 1 mm to the seam.


I swept the lining to the main fabric.
I laid a line 1 mm from the edge. So that the lining does not peek out during socks.
Such details have turned out.


Here they are on a mannequin.
I started to recess the skirt and attached the lining with stitch stitches to the main fabric. Next, sewed parts as single-layer.
Stitched details of the back and details of the bodice to the panels of the skirt.
I processed the section of the connection on the overlock and stitched the side seams of the dress.
The secret of the back is that the cut-off line of the bodice does not coincide with the cut-off line on the back. If they matched, you would see a bra clasp in a neckline on the back.
Sleeves stitched and this is what happened:


Sew the zipper to the allowances of the back.

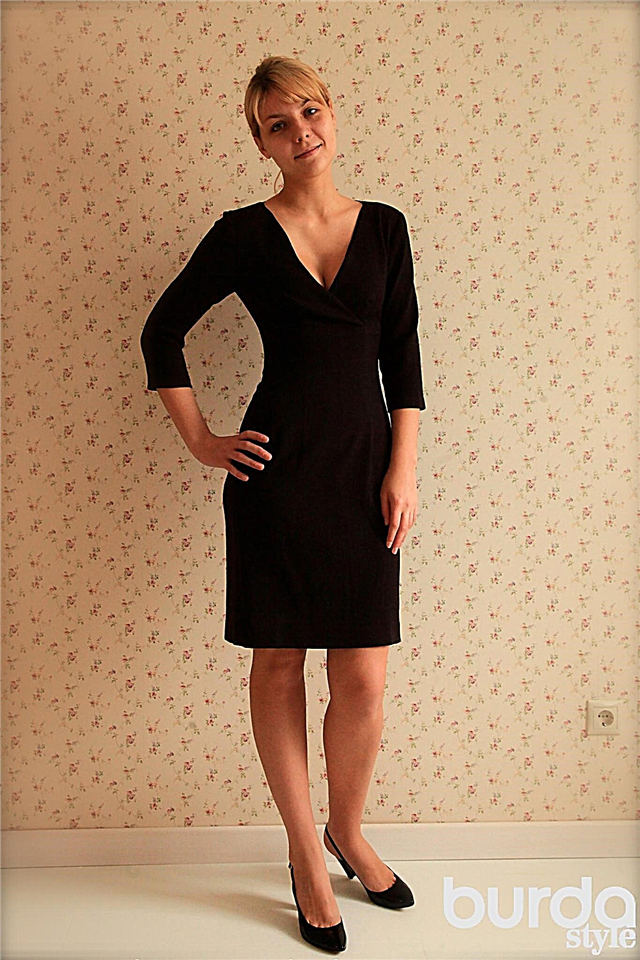
Fitting:

Here's what happened. Immediately I note that the live dress is very dark in color, for some reason in the photo it is light brown. And the recesses are visible, as if they were “fried with an iron”, but this is not live.Of course they can be seen a little, the fabric is very thin, but they do not "glow".


I liked the cameo button. Maybe someone will say that it was possible to sew a little black or brown, but there was no suitable color, and I wanted to add an interesting detail. But there was no time to tighten the button with fabric.


I didn’t prepare a photo session. In our city for a long time there were no clear days, and the lamp light spoils everything, I did not think to take off the dress on myself. I like to be photographed on the street, but it’s cold there now! And then a friend came to try on a dress that I sew for her for the new year. So I decided to seize the moment, filmed a dress on her.
My friend is slimmer than me in size and taller, so the dress is freer for her and the waist can drop a bit out of place. As the dress sits on me it is visible on the photo "fitting" above.
On me it sits a tyutelk in a tyutelka, as they say in slinky. I didn’t want to be photographed, so do not scold me! :)
And by the way, I made repairs in the office :)


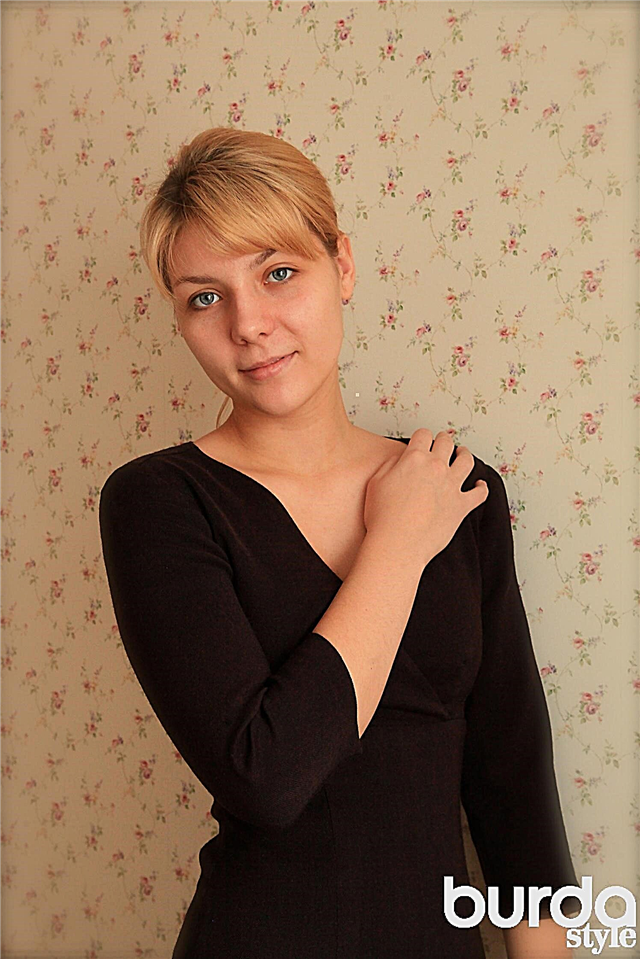

The dress turned out spectacular and comfortable. The back turned out as I wanted. But the neckline on my chest is too open. I can not wear it. Therefore, I will sew another such dress with a change in the pattern. I’ll reduce the neckline, and on the back I will make the neckline lower, 3 cm longer. Although I am picky about the dress, it turned out to be much better than what I sewed to order in 2008!
And this copy gave her friend, on her neckline does not look defiant.
Comparative analysis:)


The back is similar, but next time I will make the neckline less teardrop-shaped.


I think it's a good idea for Burda to publish patterns from good movies!
Thank you for the attention!
Share
Pin
Tweet
Send
Share
Send